When I received the Flower Cup Beads from Beebeecraft.comfor a product review, I thought, what better way to review the beads than to make a cool project with them.
On the original pin, it looked to me like the base wire may have been soldered closed. The bead cap blocked my view of how the top was actually done.
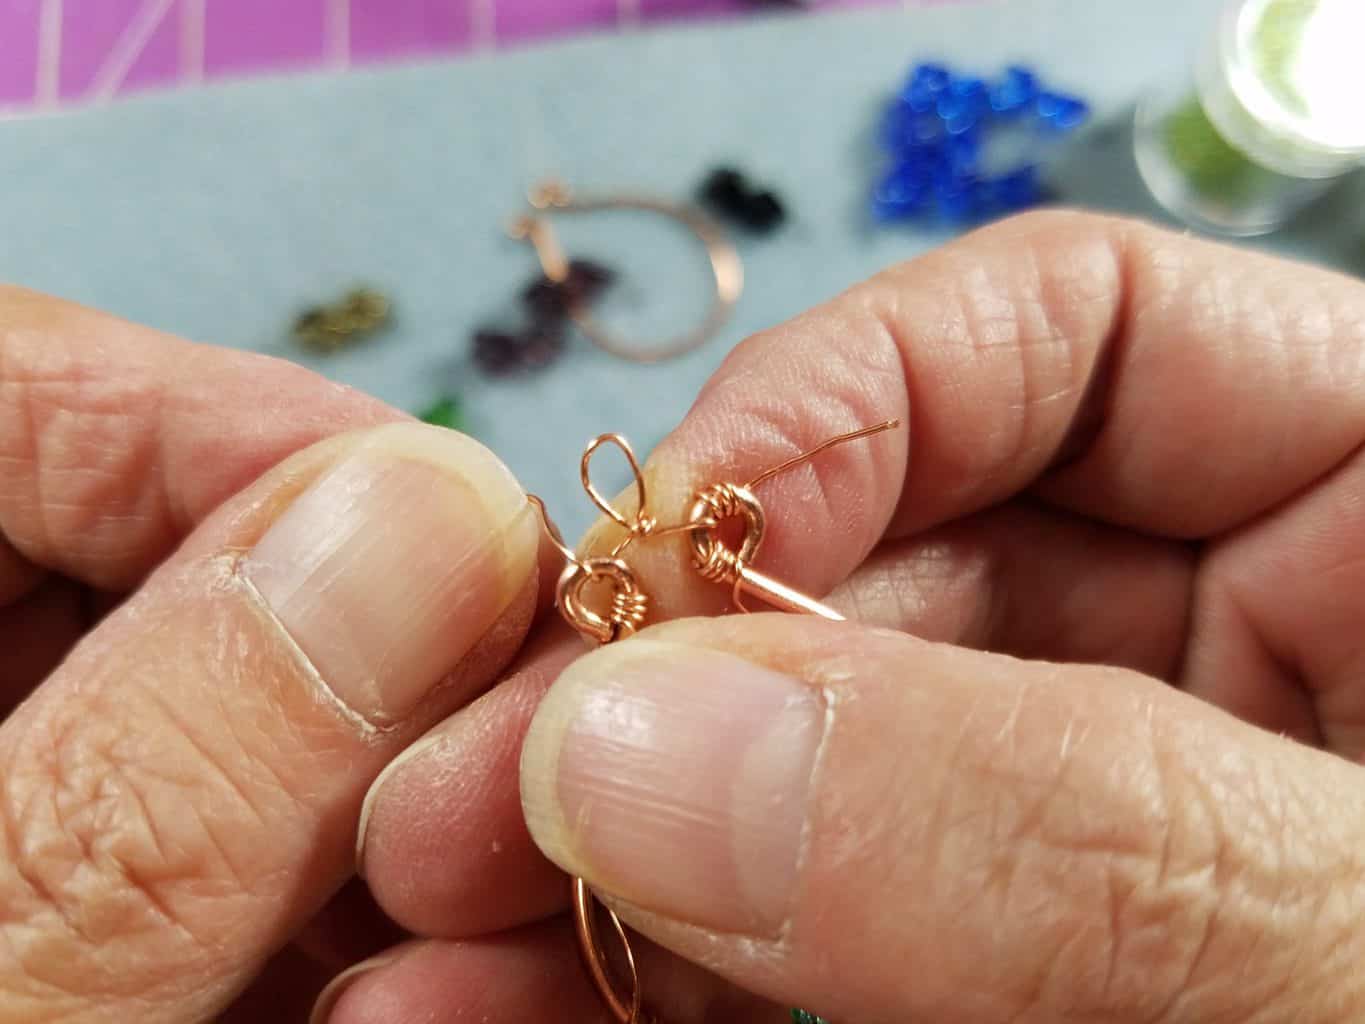
I didn’t want this project to be so involved, so I adapted my project to use loops at the tip instead of the bead cap look you can see on the pin.
When I clicked the link for this pin, I did not connect to the actual info for this project, so I wound up improvising and making it my own.
Let’s get started by taking a look at the Materials you will need to make your own set of Wildflower Copper Earrings.
You will also need a round mandrel item that measures close to 25mm in circumference. Use a soft tape measure to help you with this step. See below for more info.
If you decide to do the alternate ending, you will need 2 – 4mm and 1 – 6mm Copper Jump Rings.
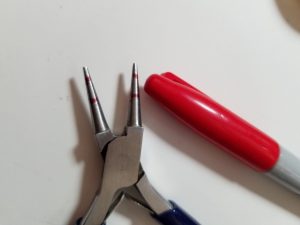
**Mark the spot on your Round Nose Pliers for the Size loops you want to make.
** *The links provided are my affiliate links and using them helps support free content on this blog and my YouTube channel.
The Base Component
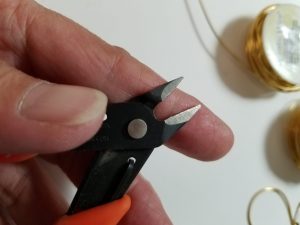
Remember to use the flush side of your cutters towards you work throughout the project.
Be careful not to snip through the scallops along the base when ending your weaving wires.
Cut both ends of your base wires flush before forming your loops.
File the ends flat if needed.
Step One – Cut a flush end on your 16 or 18 gauge wire.
Measure 4 inches with your ruler and cut the wire with the flush side of the cutters.
Repeat for the second wire.
Straighten the wires out using Nylon Jaw Flat nose pliers or your fingers.
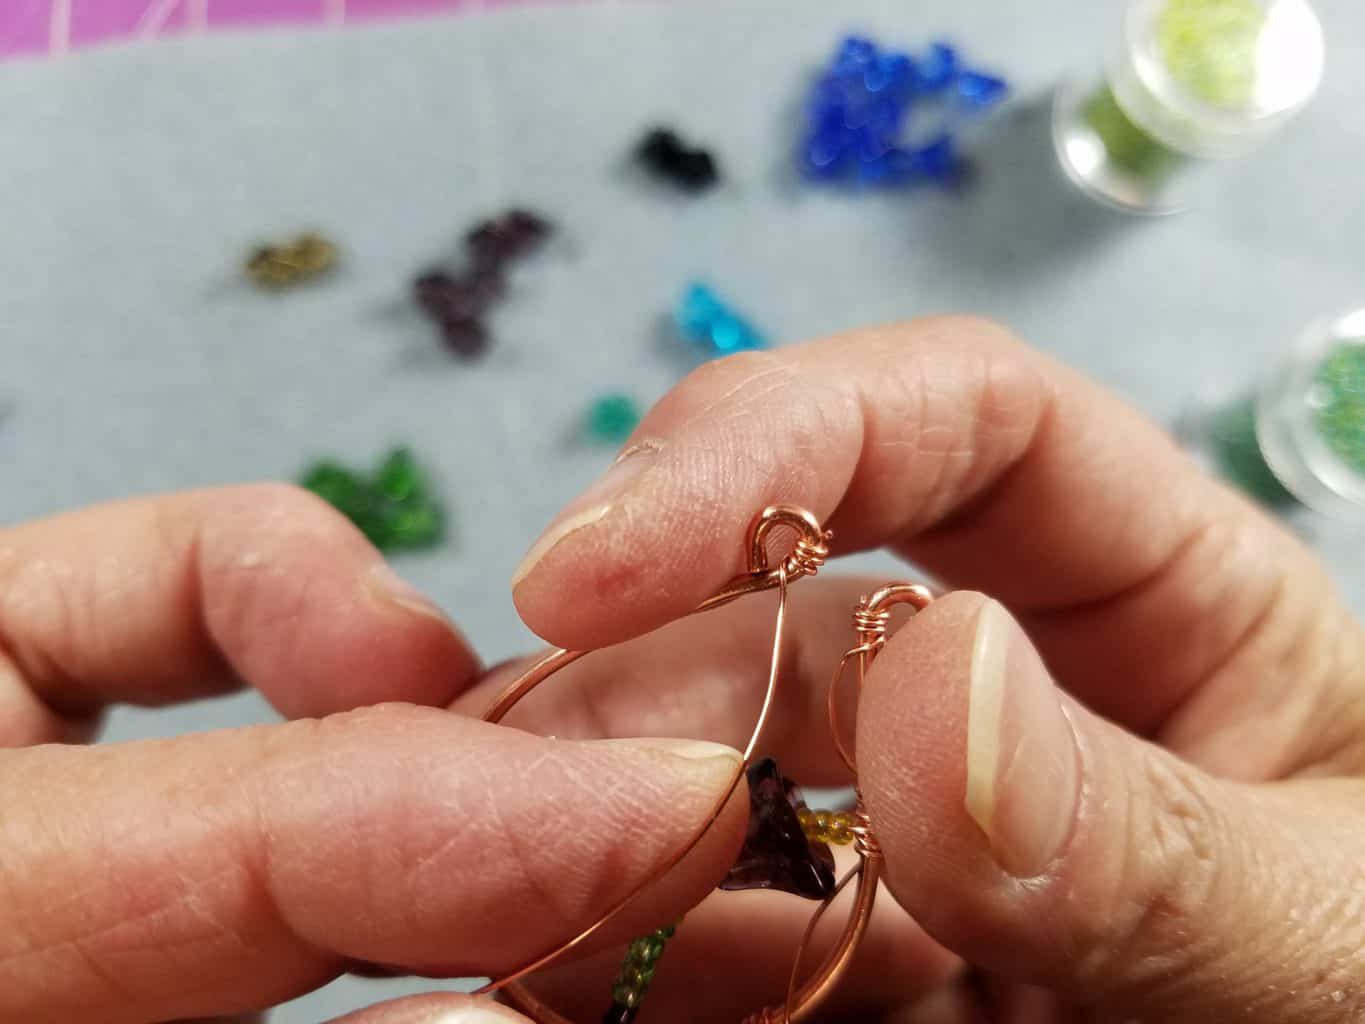
Find the spot on your round nose pliers for the size loops you want on the base component.
I used the mark closest to the tips for my loops and they measure 4mm.
Make sure to place the wire on the mark flush with the barrels and that you can not feel the wire sticking up before you form your loops.
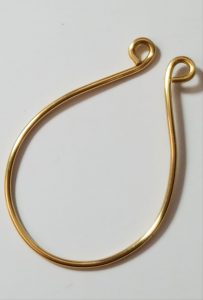
Form your loops so that they are facing the same direction on the wire.
Make sure that the end of the wire comes in contact with the base so that the loops are closed securely.
I used the bottle in the middle, but anything round and close to the size will work just fine.
Center your wire along the mandrel you are using, so that the loops are facing downwards.
Gently beging to form the curve at the bottom.
Take your time to make sure to loops come up as parallel as possible.
Once you have them lined up, use more force and pressure to finish shaping the component.
Repeat all the steps above for the second component.
Note* If you used Dead Soft wire, harden the component using your Rawhide or Nylon Mallet and your bench block.
The Weaving
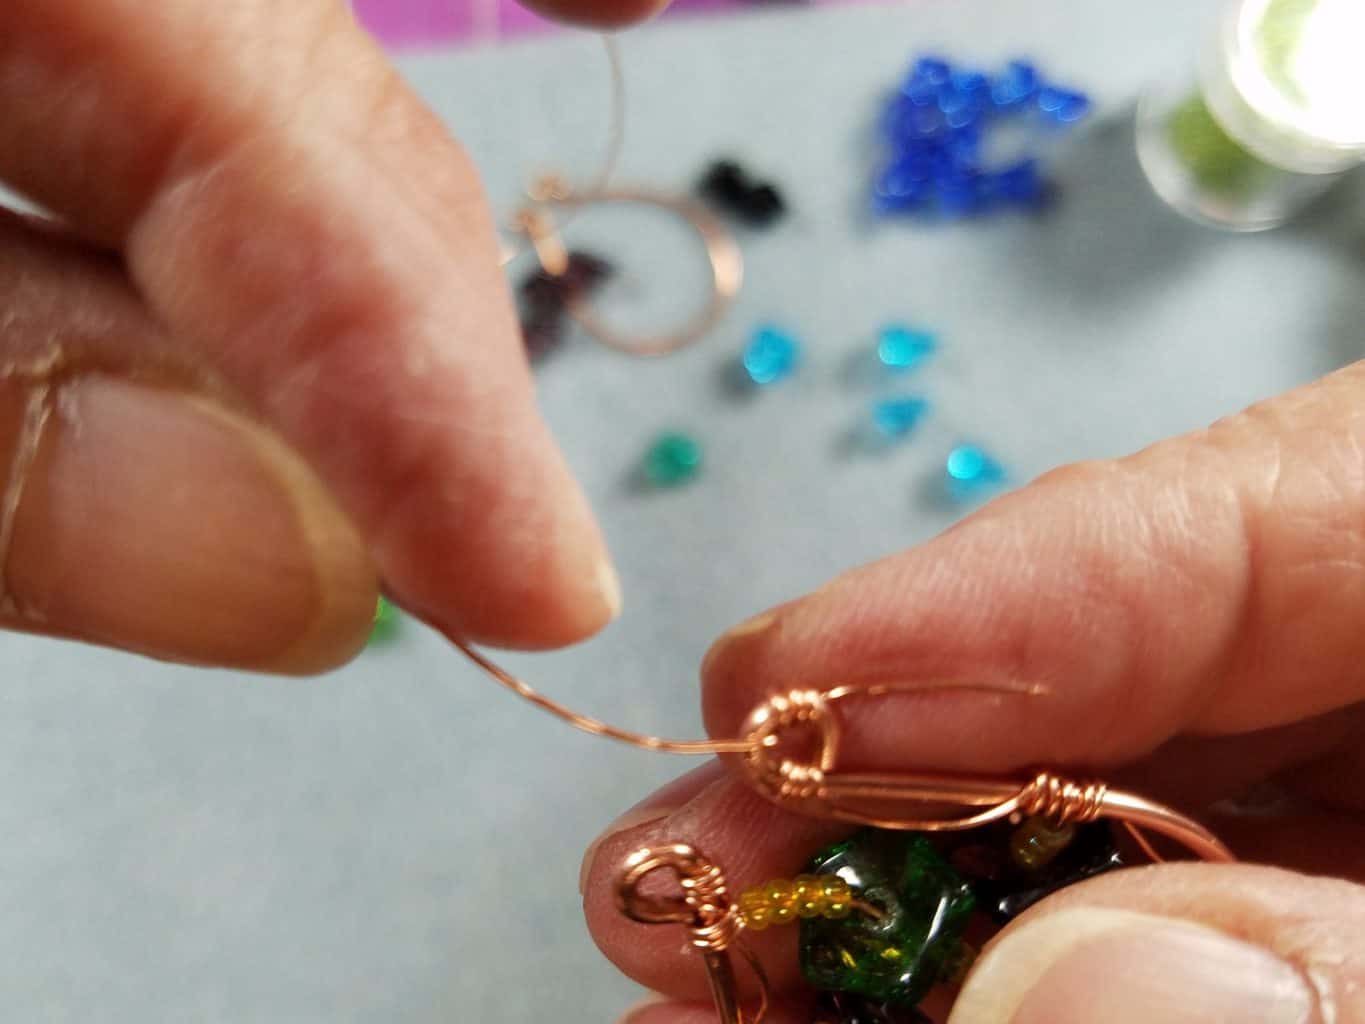
In the tutorial, I talk about using the natural curve of the wire.
As you pull the 26 gauge wire from the spool, you can see the natural curve I am referring to.
In this project, we are going to get that curve to work to our advantage.
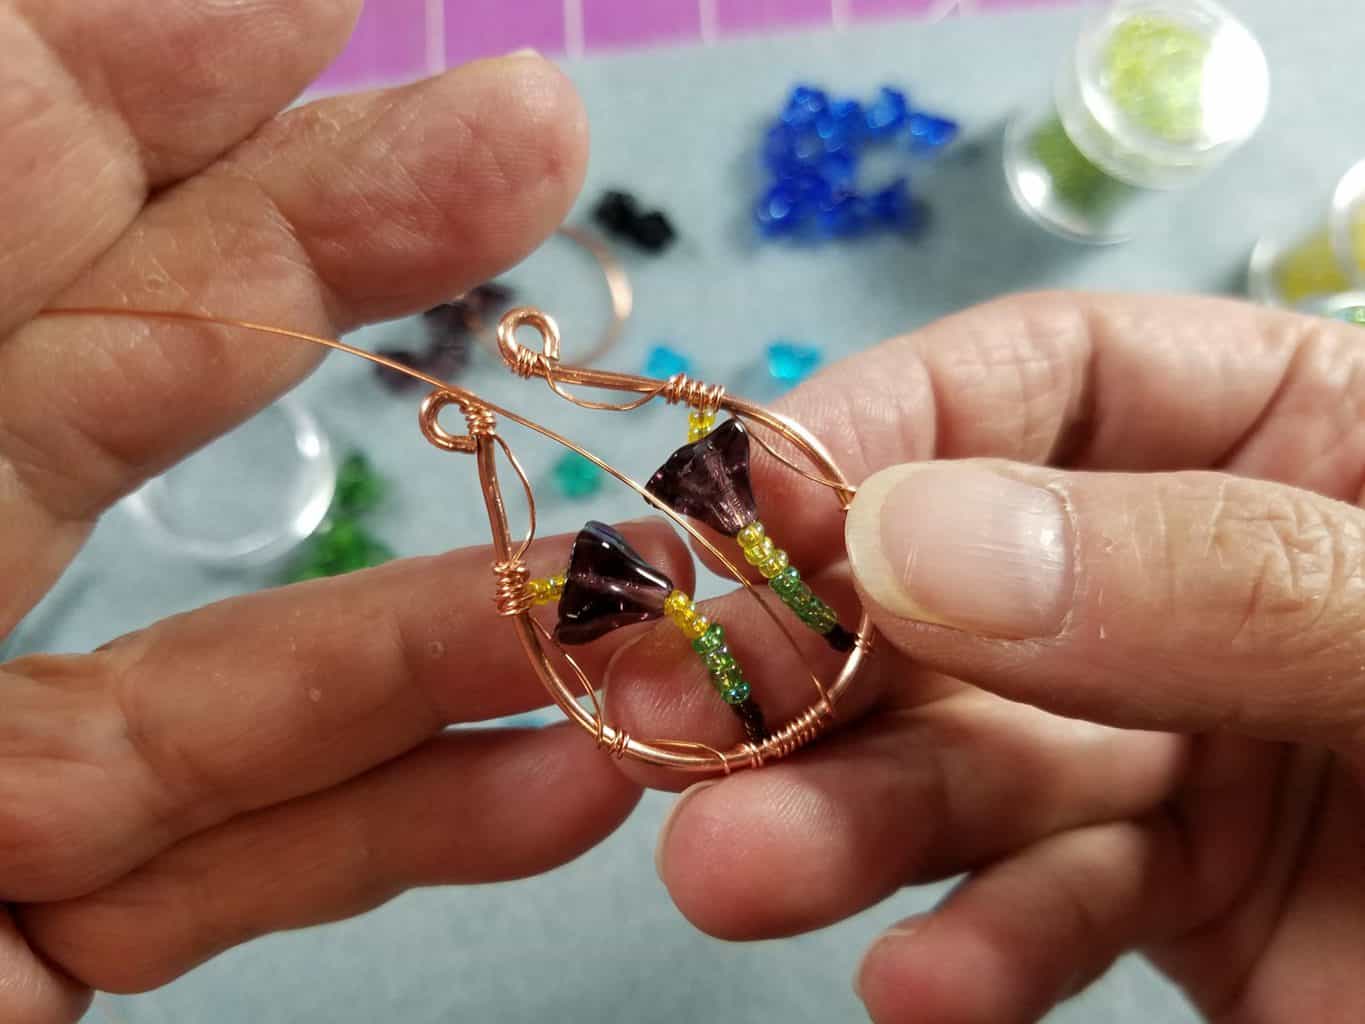
Throughout all the weaving steps of the project, the weaving wire needs to start and stop on top of the base wire.
In each step of the weaving we will use three wraps to secure the wire and embellishments to the base.
Remember to use the flush side of your cutters facing your project when called for.
Note – If you need to work with shorter lengths of wire:
Complete the first round of weaving with a 9-10 inch length of 26 gauge wire and use the remaining wire for the second have of the earring.
I used the Scraps for the final coil at the bottom and another small piece to create the loop at the top to attach the earring findings.
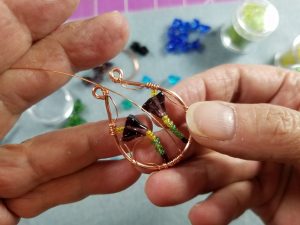
Bead Counts for the Flowers
For the 2 Side Flowers – Pick up:
3 – 11/0 Delica Beads
4 – Green Round seed beads
3 – Peridot Round seed beads
1 Purple Flower Cup Bead
3 Yellow Round seed beads
For the Center Flower – Pick up:
5 – 11/0 Delica Beads
5- Green Round seed beads
3 – Peridot Round seed beads
1 Green Flower Cup Bead
4 Yellow Round seed beads
Be mindful when you are wrapping your flower sections, remember to start at the bottom and work upwards towards the loops, but do now wrap over the Scallops.
See the Gallery photos below the Video for some of the steps used to create the project.
The Tutorial
I hope you enjoy this project and that you take the time to make it your own.
Head over to my Facebook Group – The Bead Mat and upload photos of your project.
I would love to see them.
Don’t forget to Subscribe to YouTube Channel, my Newsletter and Follow this Blog.
Here is the link for the Head Band Magnifier that I use.
I really love this set and I use it religiously in my studio.
Fair warning – it takes time to get used to any magnifier like this so be patient with yourself.